 Many consumers are doing their own remodeling to save money and to reap the enjoyment of doing it themselves. As a general rule of thumb, if you spend $100 on materials for Bathroom Remodeling, the labor is going to cost you at least double that. Bathrooms can be even higher. This is due to the small spaces and the extra time it takes to work around toilets and vanities. Depending on what renovations you plan you might also qualify for a tax refund as well.
The big decision is whether you take on this work yourself or you hire someone to do the work for you. Bathrooms are very expensive projects for many people and also some of the most complex projects as well. This is probably the main reason why many people either do not do any remodeling or hire someone to do it for them at a great expense.
Bathroom Remodeling – Removing the Old Mirror
I recently took on the task of updating what is called the powder room in our home. This is the bathroom on the main level with a toilet and sinks with a mirror over the sink. We replaced the toilet, the towel rack, the toilet paper holder, the faucet, the lights, and of course the mirror. It is the removal of the mirror that I want to write about in this post. This mirror was about 30 inches wide and about the same high. It was a flat mirror and it was glued to the wall. The question was how was I going to get it off the wall intact without glass shards all over the floor and on me when I took it off.
I was concerned that as soon as I started to pry it off the wall it would break and I would have broken glass everywhere. In fact, it might even damage the sink which we had decided not to replace. It was fine and in perfect condition. So how would you remove this mirror that is glued to the wall without breaking it?
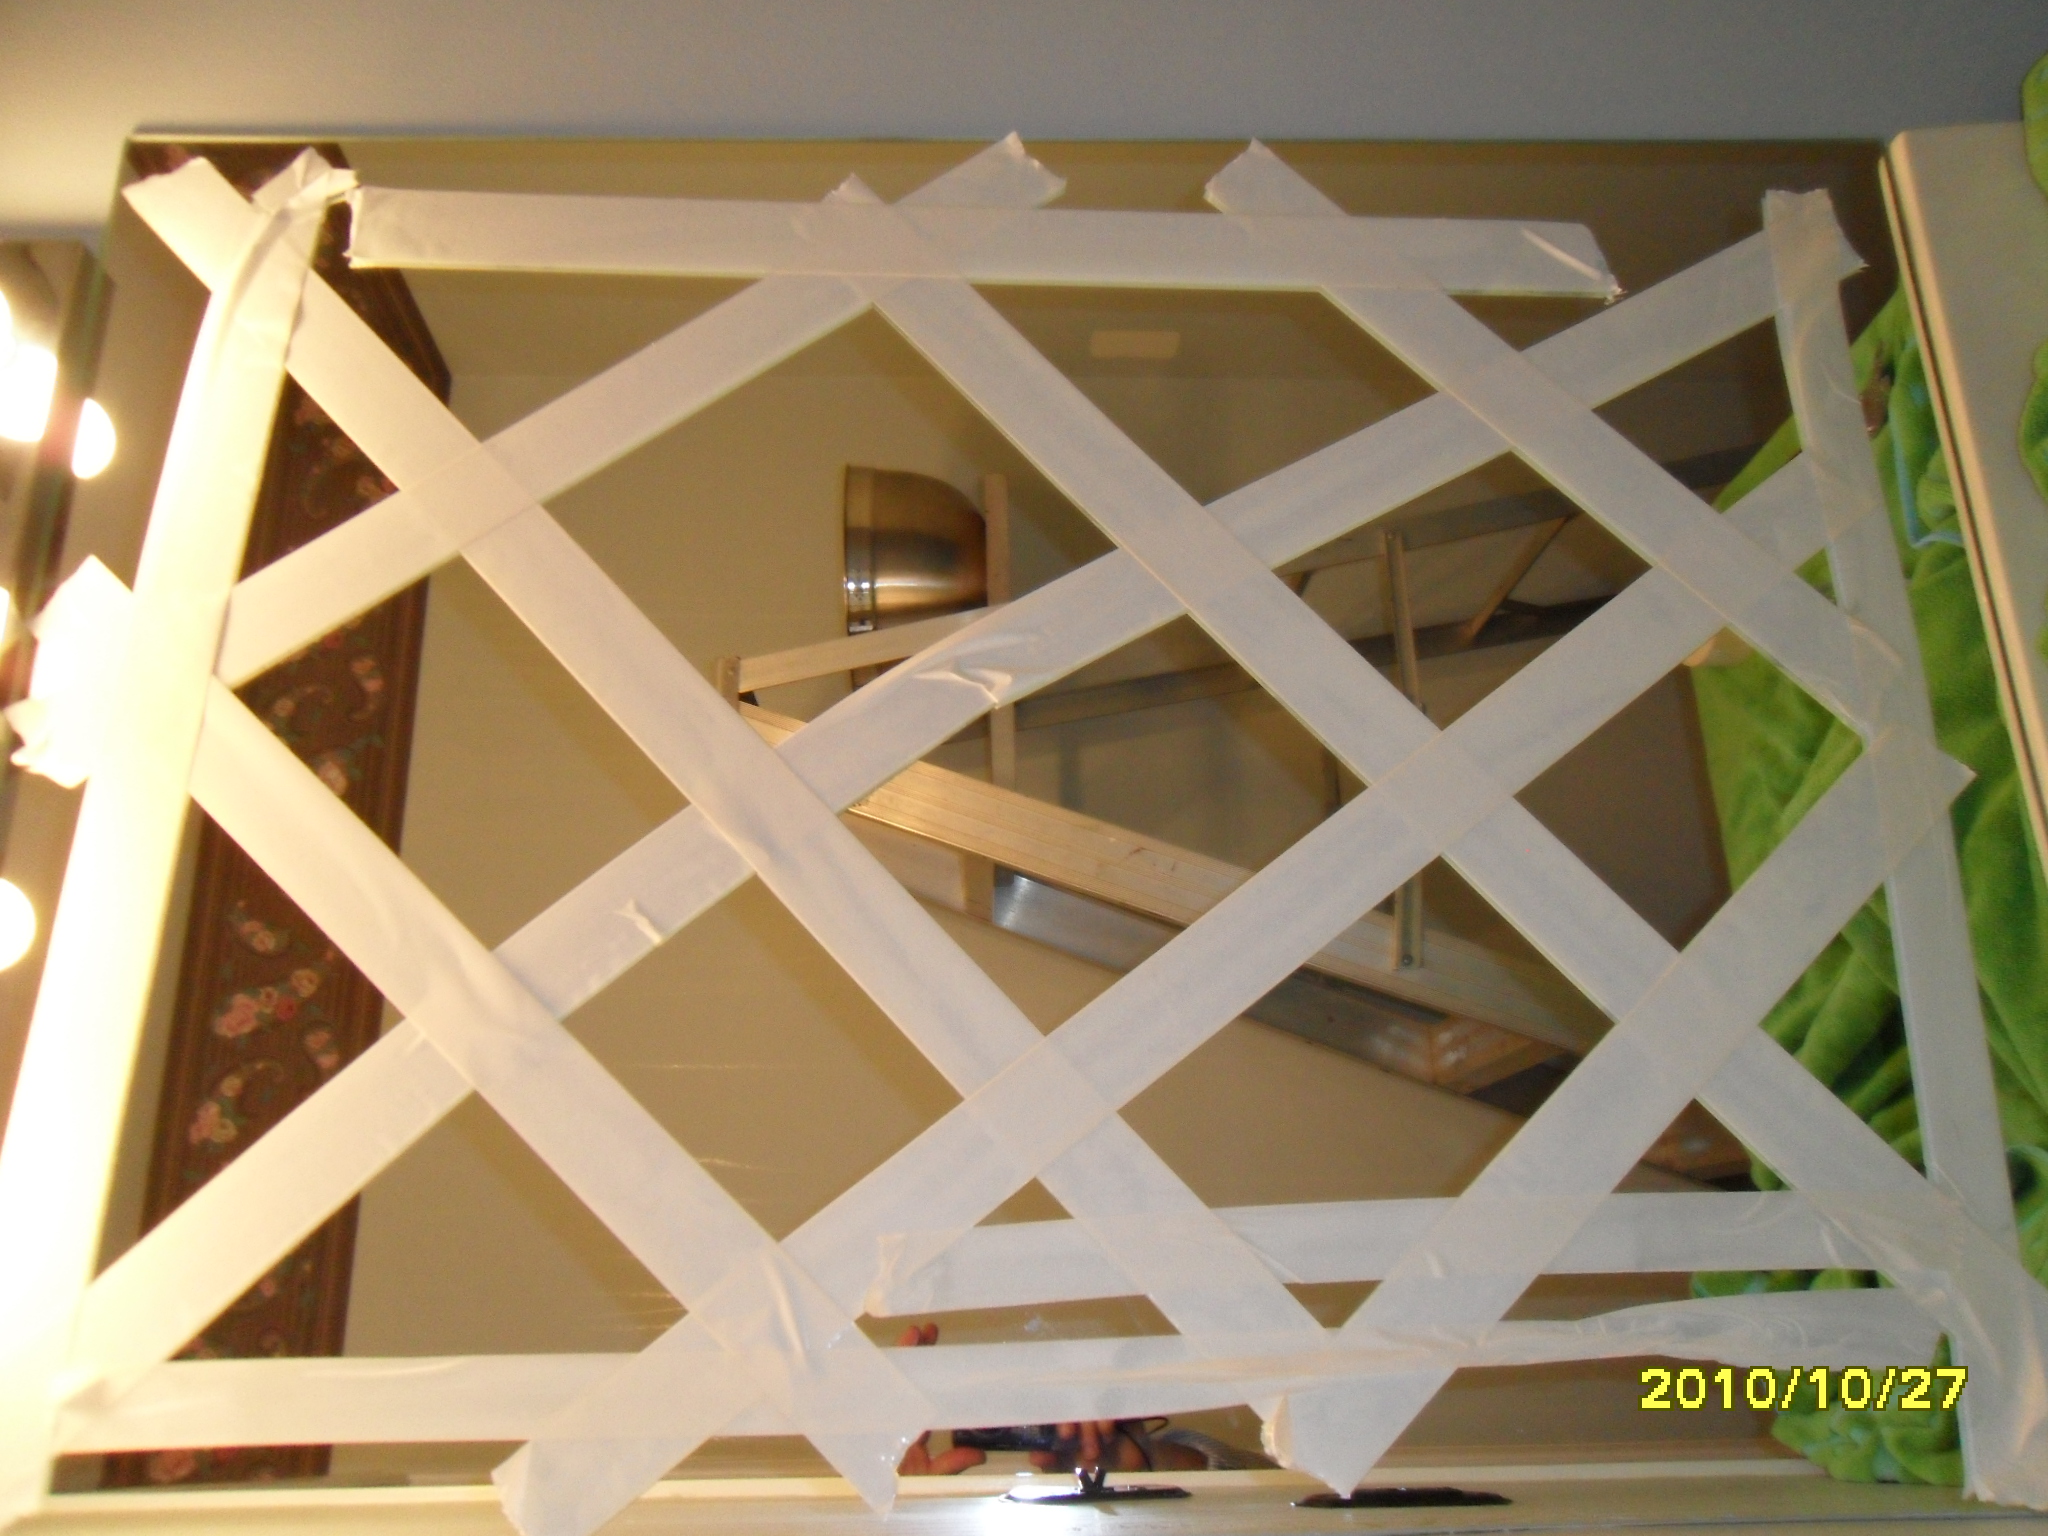
Well, it turns out that the job was actually quite simple. All you need to do is to first of all, use masking tape as shown in the picture. This gives the glass extra strength and if it does break, it will stay together and not fall because the tape will hold it in place.
Protect your Vanity
Next place a towel or something on your vanity that can protect your vanity in case the mirror does break. You do not want any unnecessary scratches on the vanity. You can see there is a green towel in the picture reflected in the mirror. This was used to protect the vanity.
Using a thin long blade, you then insert the blade between the wall and the back of the mirror and slowly cut through the glue and drywall surface until you can lift the edge of the mirror away from the wall. Continue with this approach until the mirror can be safely pried away from the wall without any breakage. You may find that some of the paper from the drywall is going to come with the mirror due to the glue.
This is not a problem. All you need to do is apply some drywall compound in a thin layer afterward. Allow it to dry and give it a light sanding. You may need to repeat this process several times until it is smooth enough to paint. If you do use drywall compound, you really should prime this area with a primer if you are going to paint the wall. This will ensure that you have a satisfactory job when you are finished painting.
Once we had the mirror off the wall we painted the ceiling and the walls, installed a new oval mirror and new lights and we were done. An easy job as it turned out and we save a great deal of money doing this bathroom remodeling ourselves.