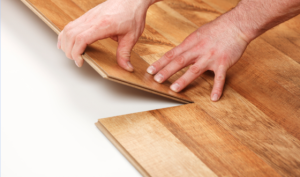
 Installation of hardwood floors is made simple by hiring a hardwood floor installer who really knows what he is doing. The trick is to make sure that the guy you hire has experience. They will plan your floor out to make sure that it is done properly and looks great when it’s finished.
Learn the Basics of Hardwood Floor Installation
Knowing a little bit about installing hardwood floors can help you interview the installer. Also make sure that the guy that will do the job for you has experience and will do an excellent job. You should ask for recommendations from the store where you purchase your hardwood. You really want to go beyond just getting a recommendation from the hardwood floor store. Understand the best approach to laying out your flooring. Which direction should the floor run in? Across the joists that support the floor or along a hallway?
Ask for References
You might also ask for references and actually go and see the people to look at their floors. Discuss with them what their concerns and issues about their floor are. How it was installed. Are they totally satisfied or would they do something different? You can ask for references from the store. However hardwood flooring is so popular these days that many of your friends will have had some experience with installing flooring. Ask for their opinion and references as well.
We are all in hurry, especially once we have made the decision to go ahead with the purchase and the installation of the hardwood in our homes. If you know of an excellent installer, you may want to wait until he is available. Rather than go with another installer that you are not as confident with. Sometimes the wait is worth it to get the best installation that you can.
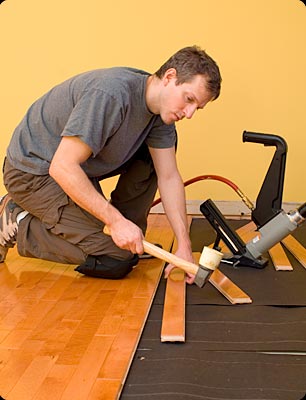
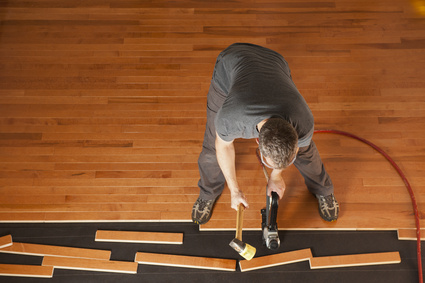
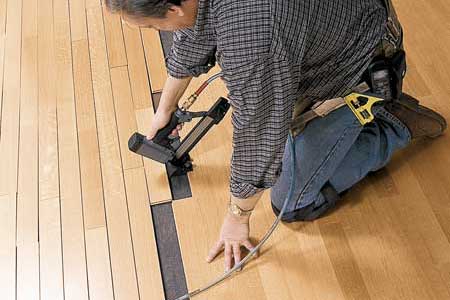
Installation of Hardwood Floors
The hardwood floor strips should run across the joists that support the floor. You can usually tell by looking at the direction of the joists in the basement to find out which direction they’re going. The hardwood strips should be placed across those joists on the upper floors. In addition there should be at least 5/8 inch plywood on the floors to provide maximum strength. This will avoid any squeaking or movement of the floor once the hardwood is installed. Some homeowners will also add additional nails or better yet wood screws to hold the plywood in place. This will prevent squeaking after the floor has been installed.
The hardwood floor strips should run the length or the same direction of the hallway. This makes the room look larger and not as narrow. We have two hallways that intersect, so we chose the longer and wider hallway to run the hardwood planks the length of that hallway. In the other hallway which intersects with the first we had no choice but to run then across the width of the hallway. This makes it look a little smaller. But it is a short one and not used as much as the first one, so we are more than satisfied with this decision.
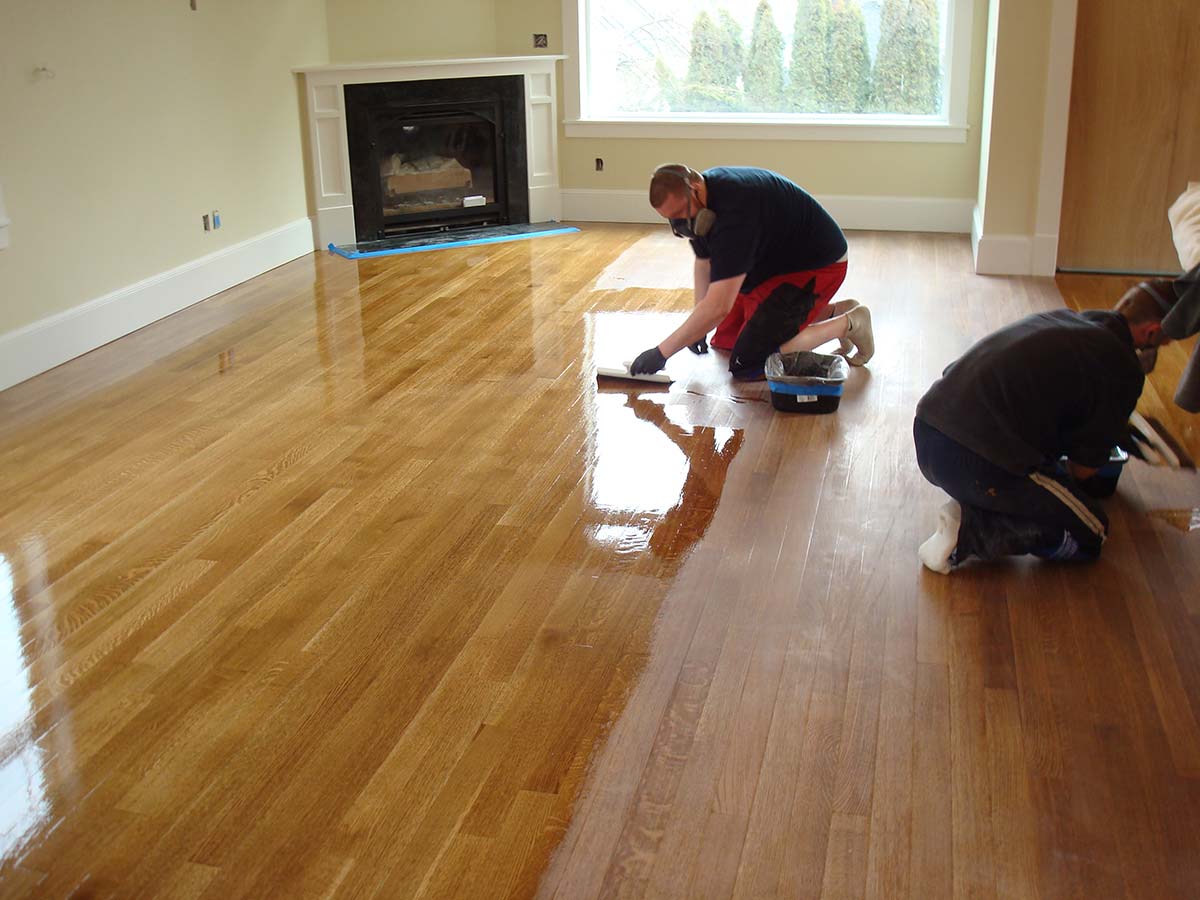
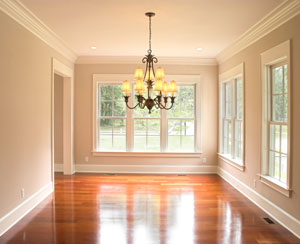
Living and Dining Rooms
In the living rooms or dining rooms or family rooms the same rule should apply. The hardwood strip should run the length of the room rather than the width of the room. Installing the hardwood floor strips in this manner should also usually comply with the earlier suggestion, The hardwood floor strips be installed across the joists in the basement or in the second floor. Once your hardwood floor is installed, many people will place area rugs to enhance the décor. In addition this will protect the flooring in high traffic areas. This is a great way to add accents to the room as well as complement your furniture. It brings everything together from a color perspective.
Some consumers will also hire decorators to help them with this step to make sure that everything is color coordinated and looks great.


 the unlimited selection available. But before you rush out shopping for your hardwood flooring, keep these tips in mind.