Tag: Renovation

How to Install French Doors in Existing Opening

how to install french doors in existing opening
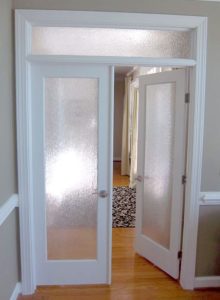
Many consumers hire carpenters or handymen to install french doors for them when they could actually do the work themselves. It is actually quite easy if you take your time, follow the steps outlined below and perhaps watch a few YouTube videos showing some of the visual details on how to install french doors into an existing doorway. This post assumes that you already have doors installed that you are replacing. The existing doors are used as a template and once you finished with them can be sold to recover some of your cost. New doors come in a variety of sizes, with primer paint already applied. Once they are installed you can apply a final coat of paint on them to finish them off.

How to Install French Doors

You will need the following tools and materials.

  • Shims
  • Electric drill
  • Philips drill attachement
  • Drill bit to drill holes for door handles
  • Chisel
  • Rubber Mallet
  • Pencil
  • Square
  • Table to place doors on to make your job easier

The detailed step by step process is as follows:

  • Place shims under the existing door to hold it in place
  • Remove door handle
  • Place the new door on a table or some support structure
  • Unscrew hinges on the existing door
  • Remove the door and place it on top of the new door
  • Make sure that you match the bottoms of both doors
  • Line up the door to make sure that the old door is perfectly aligned with the new door.
  • Use the square to mark the hinge cut-outs that you need to make
  • Trace the hole you need to cut for the door handle
  • Remove the old door and begin drilling out the door handle with an appropriate sized drill bit
  • Stand the door on its side and chisel out the hinge locations using the rubber mallet and chisel
  • Take your time to be careful not splitting the door
  • Install the new door using the shims to support it at the correct height
  • Attach the hinges and test to make sure that the door operates properly and closes properly
  • The adjustment might be needed to ensure that it properly fits with the other door
  • Install the new door hardware to ensure that it fits with the other door

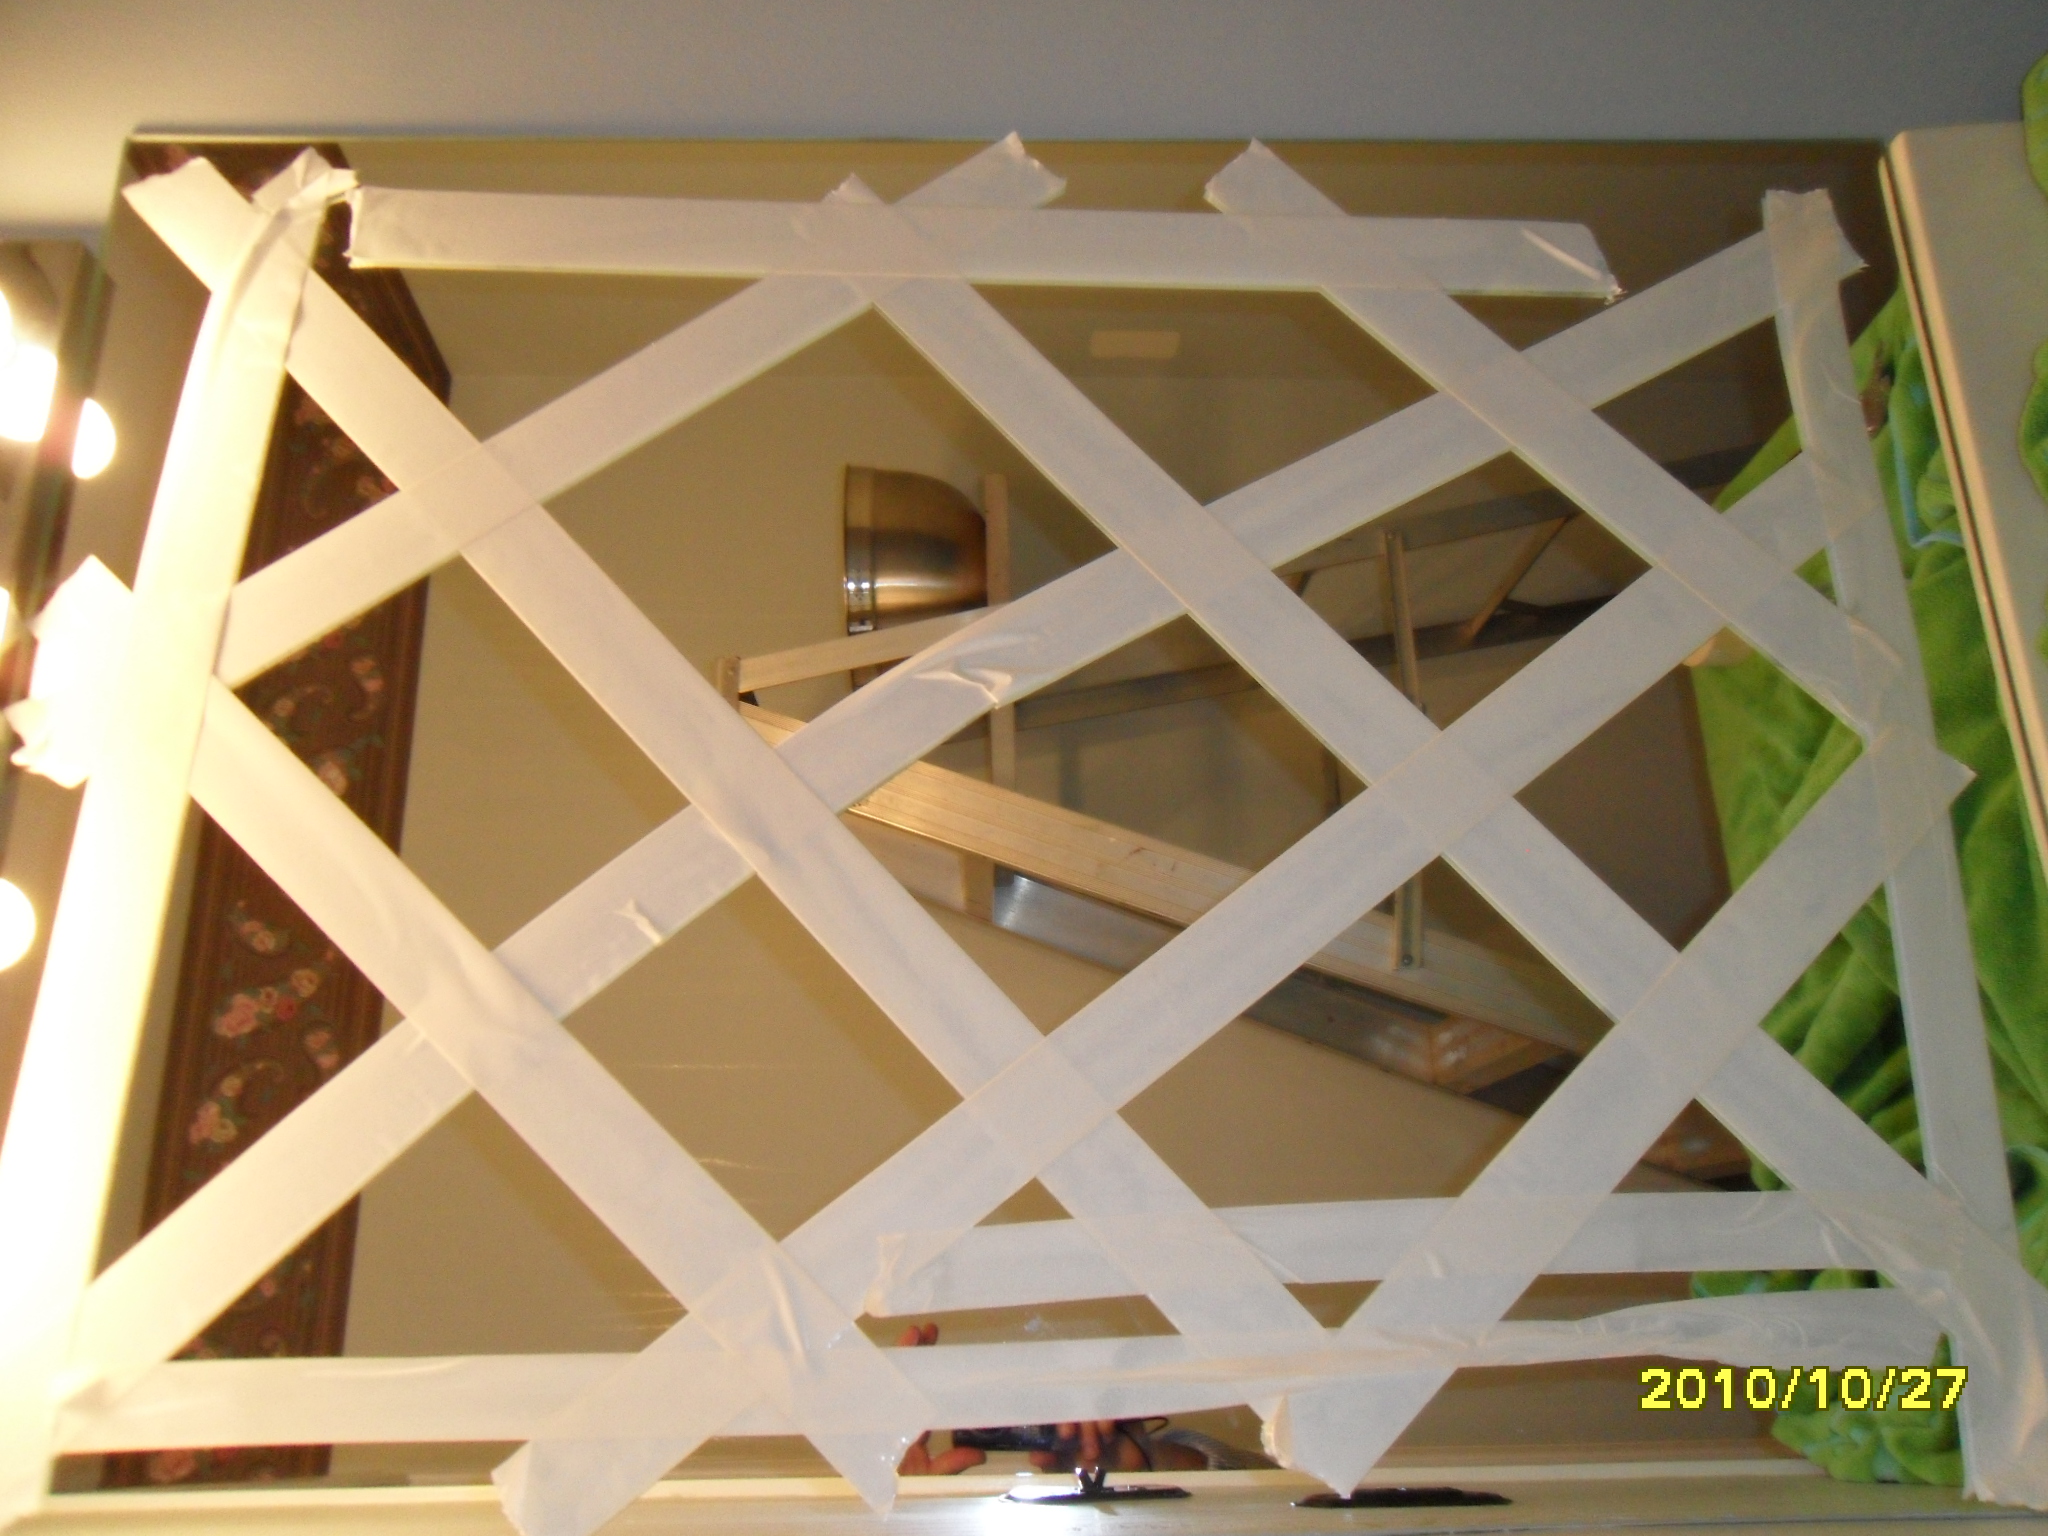
Repeat the process to install the other door. Then paint the doors, once you are satisfied with the installation. Remove the door handles before painting. Use masking tape to cover the door hinges to avoid getting paint on them. Most doors come with one coat of door primer applied.

For more remodeling ideas that can save you money, click here

Save

Save


Installing New French Doors DIY Made Easy

If your handy at all, anyone can install new French doors into an existing opening with no problems and save money at the same time. Installing new French doors into an existing opening that already has doors installed is one of the easiest do-it-yourself jobs to do. The tools you will need are an electric drill with a Philips screwdriver bit, a table to lay the door on to make your work easier, a drill bit to make the holes for the door handle, a pencil, a measuring tape, a square, cedar shims, a chisel, and a rubber mallet. The money you save from doing the work yourself will more than pay for these tools if you need to purchase some of them.

Step by Step Process for Installing French Doors

What follows is a step-by-step explanation of what you need to do. I found it easier to only remove one door at a time as well. If you have someone to help you from time to time to hold the door while you are removing the old door and installing the new one it also makes the job much easier as well.

  • Place shims under one door so that it is held in place
  • Remove door handle
  • Place the new door on a table or some support structure
  • Unscrew hinges on the door side
  • Remove the door and place it on top of the new door
  • Make sure that you match the bottom of both doors
  • Line up the new door with the old door. Perfectly align it with the new door.
  • Using the square to mark the hinge cut-outs that you need to make
  • Trace the hole you need to cut for the door handle
  • Remove the old door and begin drilling out the door handle with an appropriate sized drill bit
  • Stand the door on its side and chisel out the hinge locations using the rubber mallet and chisel
  • Install the new door using the shims to support it at the correct height
  • Attach the hinges and test to make sure that the door operates properly and closes properly
  • Adjust as needed to ensure that it properly fits with the other door
  • Install the new door hardware to ensure that it fits with the other door

Repeat the process to install the other door. Remove the door handles and paint as needed, once you are satisfied with the installation, . Most doors come with one coat of door primer applied.

For more remodeling ideas that can save you money, click here.

Save


Sell Recycled Materials from Renovations

sell recycled materials from renovationsMost consumers throw out all of the materials that they remove from their homes during renovations. Any leftover new materials go the same route. In fact, all of the renovations shows on TV make a big deal of wreaking everything. It is less costly to remove the old shelves, cupboards, sinks, faucets, and toilets to prepare the space. They take sledgehammers to everything. It all goes out in one of those big trash bins or in a bagster like the one shown here. However, if you are careful you can sell recycled materials from renovations. Reuse the material as much as you can. You might even make some money from the old items.

Sell Recycled Materials from Renovations

Recycle or sell as much as you can. Sometimes the only way to remove something is to take a sledge hammer to it. Carefully remove items.  Reuse them or resell them.

Kitchen cupboards make great storage areas in your garage or in the basement. You just need to remove them carefully. Remove faucets in working order and resell them. Many people look for used materials to reuse in cottages etc.

One time I sold a used toilet for $10 to a guy. He was renting an apartment and somehow had broken his toilet. For $10, he was able to replace the broken toilet with mine. It was in good shape, very clean and in working order. Much better than have it take up space in a landfill spot somewhere.

Many items are just beyond recycling. Carpets for example are usually quite worn down and possibly dirty. Tiles are usually broken as they are being removed. Remove mirrors without damaging them. Light fixtures are another favorite item to be considered for recycling. Remove them carefully and resell them.

Window blinds are often custom-made to fit a certain size of the window. Blinds can be difficult to get rid of. However, we offered some blinds for free one time on a free advertising page. They were picked up almost immediately by a family who ran a boy’s school. The blinds were used for the windows. They did not need an exact match.

Summary

Before you take the sledgehammer to your old stuff take a moment to consider its value. Can the item you are about to demolish be reused or even sold at a bargain price. It can be a win-win situation. The buyer saves some money. You the seller make a little bit to help pay for the renovation work you are doing.

Save


Baby Boomer Renovation Boom

Baby Boomer Renovation BoomBaby boomers are retiring in droves. So much so that there is only one person available to take a vacant job for every two available. With so many people retiring, it is creating new opportunities for many people of all ages. Some baby boomers want to pursue other careers. Others want to relax and enjoy life. All baby boomers need to prepare their homes for retirement and aging related issues. this is generating a Baby Boomer Renovation Boom! These issue can be generalized into three main areas. Steps that make it difficult for people to navigate their homes. Bathrooms that are difficult to use. The third item is the effort needed to continue to use your own home and maintain it in a comfortable manner. We will discuss each of these in a little more detail.

Baby Boomer Renovation Boom

Steps – Whether it is walking up steps to get into your home, or to go upstairs to the second floor to your bedroom. As we age, it is harder and harder to get up those stairs. Solutions include:

  • Install ramps
  • Install automated stair climbers
  • Downsize and move

Each person needs to make their own decision when it is best for them. In all cases it is going to cost some money, however in the long run, your life will get easier.

Bathrooms – can be slippery and tubs can be difficult to get into. Many people install walk in showers or new tubs that have a door to allow you to walk into. Add a chair to sit on while using the sink etc.

Maintenance – of your home is so important to maintain the value in your home and to avoid more serious problems of a home that is not well maintained. Replace windows as needed, paint inside and outside as needed, hire a cleaner to help maintain your home.

Save


Baby Boomer Building Boom

Baby boomers are retiring in droves. I just read this morning that there are more baby boomers older than 65 than there are people under the age of 14 in this country. In addition there is only one applicant for every two jobs that are being vacated by baby boomers retiring from the work force. This is putting a lot of pressure on business and government, however that issue is a topic for another post. In this article we wanted to focus on the baby boomer building boom and what consumers over the age of 65 should focus on in their homes to allow them to age comfortably in place. After all most people want to do just that. They are not ready to move or downsize and in many cases it is just cheaper to stay where you are.

However there are some things that need to be done to their homes to make it more comfortable to stay in their home as they age. We will cover three major areas that we all need to pay attention to.

Baby Boomer Building Boom

Steps – get rid of those steps or at least find away so that you climb less steps every day. A number of things come to mind that are relatively inexpensive and yet will make life a lot easier:

  • Build ramps at appropriate locations
  • Install stair lifts to the second floor
  • Move bedrooms onto the main level
  • Add an addition to the home with no stairs
  • Hire people to do the house cleaning and other work that involves steps

Bathroom – Slips and falls in the bathroom are a major accident source for many seniors. Wet floors can be slippery, we tend to be less steady on our feet and our eyesight is not as good as it used to be.

  • Install Grab Bars in showers and tubs
  • Convert tub to a walk in
  • Add grab bars everywhere to give you something to hold on to
  • Use a walker or a cane, don’t be too proud

Remove Tripping Points – A rug, a one step stair, a bed too high etc are all places that can cause trips and falls. Combine grab bars with removing all items that could cause a trip or a fall to make it safer around your home:

  • Install grab bars
  • Remove throw rugs
  • De-clutter your home
  • Survey your home for all potential trip points


How to Remove remove old kitchen floor ceramic tiles

remove old kitchen floor ceramic tilesTiles have been very popular in many homes over the past several decades. New owners or even current owners sometimes feel the need to change them. They might have become chipped or cracked or they just are ready for a change. Remove old kitchen floor ceramic tiles, bathroom tiles or hallway tiles are much the same. You need to use the right tools and practice safety precautions in all cases.

There are many ways to remove tiles. The method you use really depends on the situation. You may want to take extra care to avoid damaging surrounding walls, cupboards, etc. The tile may be easy to remove in some situations. In others, you may need to almost use a jackhammer to remove the tile. We will cover some of the basics for safety and removal of tiles in this post.

Safely Remove Ceramic Tiles

Broken tile splinters and has lots of sharp edges. Pieces will break off and may even fly into the air. For these reasons we suggest that you wear safety shoes with steel toes. Leather gloves should be worn to protect your hands and safety glasses should be worn to protect your eyes. Saving money by doing it yourself is great as long as you do not suffer needless injuries.

Before you begin, remove any furniture and items that could be damaged by the broken tiles. You may want to consider covering some items with an old blanket if you are unable to remove the item from the area.

Tools to Remove Old Kitchen Floor Ceramic Tiles

The tools you will use to remove ceramic tiles really depends on the situation. Some are easy to remove, while others are very difficult due to the concrete used. Location and workspace can be an issue. For example, bathrooms do not have a lot of space to work in and around kitchen cupboards are also difficult.

Begin with a strong chisel with a wide blade at an edge to test how difficult it will be. If they come off easy keep going. You may have to graduate to an electric jackhammer with a flexible blade designed specifically for tile removal. These work well, however, take your time to avoid damaging the floor underneath and surrounding walls and cupboards.

The pictures above demonstrate the two examples discussed in this post. For more posts about remodeling your home and various considerations, click here.


Remodel your home for the sandwich generation

Remodel your home for the sandwich generationThe number of people living in multi-generation homes is increasing every year. The rate is 4.3% of families live with multiple generations in their home. As a result, these families enjoy many benefits of having multi-generations live under the same roof. At the same time, there are also hardships that impact the family, the quality of life, and the financial well-being of all parties. Many people will remodel your home for the sandwich generation needs, which can cost thousands of dollars in addition to many medical expenses.

Remodel your home for the sandwich generation

We will cover some of the following issues that many people find when they remodel these homes.

Family values – for many people this is just the natural thing to do. Their parents provided support and the kids would not have it any other way.

Support older generations – older generations need support financially, emotionally, and often physically as they age. Would you rather have strangers look after you or live with the family?

Save money – both parties can save money. Obvious living costs are lower for everyone when the costs are shared. In addition, built-in baby sitters, home sitting, and even some of the physical maintenance might be considered.

Avoiding poverty situations – many seniors just do not have enough funds to live comfortably. Living with the family reduces the overhead costs and allows them to continue providing valuable support to the family.

Built-in babysitting – is a huge benefit. The parents can get out once in and a while without paying for a babysitter.

Adjusting to habits – everyone’s habits are different. Sometimes there is an adjustment period. This includes compromise and flexibility. Keep an open mind.

Trend increasing – as the graph above indicates there is a general increase in multi-generational homes. We happen to think this is a good thing that provides many benefits to many people.

For more posts about remodeling your home and various considerations, click here.


Removing Popcorn Ceilings

removing popcorn ceilingsThe traditional method of removing popcorn ceilings is the one shown in the picture. Basically the ceiling is sprayed with water, allowed to soak for awhile and then you scrape it off the ceiling. You end up with a large mess on the floor. It gets into everything and takes time to clean up afterword. There are several other approaches that we have come across which will save you both time and money if you hire someone to do this work for you.

Removing Popcorn Ceilings – Shop Vac

One method is to spray the ceiling lightly with water as before, but then use a shop vac while you are scraping the ceiling. Take a 6 inch scraper or spackle knife and tape it to your shop vac as shown in the picture. As you scrape the ceiling everything is sucked into the shop vac. Clean up is much removing popcorn ceilingseasier and all you need to do is empty the contents of the shop vac into a garbage bag.

Make sure that the scraper width is narrower than the width of the shop vac wand. This will avoid any of the popcorn material going onto the floor. Your removal and cleanup time will be shorter by hours and there will be no mess on the floor to clean up! Well at least there will be less mess to clean up after you are done.

These jobs can be completed by professionals in much less time than you will take, but is it worth it. You can save hundreds of dollars doing lots of jobs like this one yourself.

For more posts about remodeling jobs in your home, click here.

Save


Home Remodeling for Aging in Place

Home Remodeling for Aging in PlaceIf you plan to stay in your home after retirement home remodeling for aging in place should be strongly considered. If you plan to move at some point then this issue may not be that important. Think through changes to your home carefully. The picture shows wheelchair access to the oven and the sink. This is just one tiny example. There are many aspects to consider and there are resources available to provide you with ideas.

Home Remodeling for Aging in Place

Important considerations anytime you plan on remodeling and plan to age in place include the following:

  • No step entry into your home at the front entrance or garage entry
  • If there are steps, add a ramp and/or a railing to hold onto
  • Being able to live on one floor of your home
  • Light switches and outlets should be reachable at any height
  • Hallways and doors should be wide enough to accommodate wheelchairs.
  • All faucet handles should be lever style rather than twist type.
  • You may need to remove some furniture to make it easier to get around your home.

These are general items to consider.  Any time you remodel or renovate your home there may be many other considerations to think about. Imagine yourself in a wheelchair or getting around using crutches or a cane. Evaluate all of your day-to-day activities and assess whether you could complete them without remodeling your home.

Some people will even go to the extreme and pretend they need a wheelchair to get around to test how easy your home would be to get around. Do you need to install a chair lift to help get up the stairs? Some of these features can easily be reversed if you decide to sell the home.

For more information about remodeling your home, click here.

Save


Updating kitchen cabinets

Updating kitchen cabinetsEvery year many people embark on kitchen renovations which can cost thousands of dollars. By the time you replace the kitchen cabinets, the sink, all the appliances and the floor you’re into thousands of dollars. A friend of ours spent over $30,000 to upgrade their kitchen. The worst part, not that it really matters, we do not like it at all.

Replacing all of the appliances can be expensive enough, however at least you have brand-new state-of-the-art appliances. Replacing the sink  and the faucets falls into the same category.

Your flooring may need updating because of wear and tear and it’s great to have a brand-new floor that is current and modern.

But What About the Cabinets

However, when it comes to the kitchen cabinets unless they are falling apart this is a major renovation expense that can be avoided as long as you’re willing to put a little elbow grease into them. One way to avoid having to replace the kitchen cabinets and a major expense as well, is to paint your kitchen cabinets!

Depending on the current finish that is on your cabinets this may be a relatively easy job or it may take more work. Either way, it is much less expensive than replacing them, installing new wiring and throwing the old ones out.

The best approach is to take one of your cabinet doors into a qualified paint store. Ask for their opinion as to how best to refinish your kitchen cabinets. In most cases you will need to remove the existing finish. Then you will be ready to paint your kitchen cabinets.

Updating kitchen cabinets – Refinish

In our case we had white solid wood painted cabinets. The paint was a melamine finish and based on recommendations that we received from our local paint store we sanded each cabinet door lightly to roughen it up and then repainted with the white melamine finish using a foam roller.

The application of the melamine paint was quite easy and straightforward however it needed three coats with a light sanding between each coat. This particular project took several weeks to finish however our kitchen was updated for a cost of less than $100 for the cost of the paint. Compare this to many thousands of dollars for brand-new kitchen cabinets. When we say thousands, we are talking at least $20,000 or more for new kitchen cabinets. Compared to spending $100, this is a major savings!

This is a major savings opportunity for homeowners and something that almost any homeowner can do themselves. Don’t fall prey to renovation experts recommending replacing expensive cabinetry. There is no money in it for them to just do a small portion of the work. Consider alternate solutions like this one that are much less expensive. If you do not like it when you are finished or partly finished, you can always revert to replacing the cabinetry.

Save


Renovate or Down Size

We have been struggling with the decision to Renovate or Down Size for years and as it turns out so have many of our friends. The more we talk about it the more we find people are struggling with what to do as they age and are looking for something different. Some want a life style change, while some consumers are just looking for less upkeep work and lower costs. In the city were we live condo’s are being built but they are far too expensive to purchase and they condo fees are out of site. Instead of lowering your costs, they would actually be going up. The city is also in on the act and have increased the taxes as well on these units so you do not save on property taxes either, even though you end up with less space to actually live in.

We put together a list of points that consumers can consider if they are thinking about moving. Compare and decide which is the better strategy financially and emotionally! Fill in your own data and make your decision based on where you live and your own personal situation. Based on information that we have heard on TV as well as read about, other cities appear to be treating condo’s differently from a price perspective as well as a tax perspective. Your situation could be significantly different from the one we are facing. We have pretty much concluded that we will stay right where we are for now!

Renovate or Down Size : Calculate your cost to move

  • Legal fees
  • Real estate fees
  • Land transfer fees
  • Moving fees
  • New furniture
  • Replace appliances
  • New window treatments

Just a note about the furniture costs, do not assume that everything will fit in your downsized home. You are going to need to get rid of some things because you do not have the space and it just does not fit the decor of the new home.

What will it cost to renovate?

  • Make ready for senior living
  • Major maintenance issues
  • Roof replacement
  • Furnace replacement
  • AC replacement
  • Driveway
  • New Windows
  • New Appliances

Renovate or Down Size – Modernize

  • Kitchen
  • Bathroom
  • Window treatments
  • Paint
  • New furniture

Emotionally Ties to existing home and area

  • Stress of moving

This last point is a really big issue for many people. With friends and family close by it can be difficult to move away or to a new location with strangers and new neighbors.

The decision to Renovate or Down Size is a very complicated decision and if you are going though these issues that we just discussed, then you are probably not going to move and it is best to renovate.


Bathroom Remodeling- Mirror Removal

Bathroom Remodeling- Mirror RemovalMany consumers are doing their own remodeling to save money and to reap the enjoyment of doing it themselves. As a general rule of thumb, if you spend $100 on materials for Bathroom Remodeling, the labor is going to cost you at least double that. Bathrooms can be even higher. This is due to the small spaces and the extra time it takes to work around toilets and vanities. Depending on what renovations you plan you might also qualify for a tax refund as well.

The big decision is whether you take on this work yourself or you hire someone to do the work for you. Bathrooms are very expensive projects for many people and also some of the most complex projects as well. This is probably the main reason why many people either do not do any remodeling or hire someone to do it for them at a great expense.

Bathroom Remodeling – Removing the Old Mirror

I recently took on the task of updating what is called the powder room in our home. This is the bathroom on the main level with a toilet and sinks with a mirror over the sink. We replaced the toilet, the towel rack, the toilet paper holder, the faucet, the lights, and of course the mirror. It is the removal of the mirror that I want to write about in this post. This mirror was about 30 inches wide and about the same high. It was a flat mirror and it was glued to the wall. The question was how was I going to get it off the wall intact without glass shards all over the floor and on me when I took it off.

I was concerned that as soon as I started to pry it off the wall it would break and I would have broken glass everywhere. In fact, it might even damage the sink which we had decided not to replace. It was fine and in perfect condition. So how would you remove this mirror that is glued to the wall without breaking it?

Well, it turns out that the job was actually quite simple. All you need to do is to first of all, use masking tape as shown in the picture. This gives the glass extra strength and if it does break, it will stay together and not fall because the tape will hold it in place.

Protect your Vanity

Next place a towel or something on your vanity that can protect your vanity in case the mirror does break. You do not want any unnecessary scratches on the vanity. You can see there is a green towel in the picture reflected in the mirror. This was used to protect the vanity.

Using a thin long blade, you then insert the blade between the wall and the back of the mirror and slowly cut through the glue and drywall surface until you can lift the edge of the mirror away from the wall. Continue with this approach until the mirror can be safely pried away from the wall without any breakage. You may find that some of the paper from the drywall is going to come with the mirror due to the glue.

This is not a problem. All you need to do is apply some drywall compound in a thin layer afterward. Allow it to dry and give it a light sanding. You may need to repeat this process several times until it is smooth enough to paint. If you do use drywall compound, you really should prime this area with a primer if you are going to paint the wall. This will ensure that you have a satisfactory job when you are finished painting.

Once we had the mirror off the wall we painted the ceiling and the walls, installed a new oval mirror and new lights and we were done. An easy job as it turned out and we save a great deal of money doing this bathroom remodeling ourselves.

Save


Electrical Work Around the Home

Electrical Work Around the HomeMany people are afraid to make any changes to anything to do with electricity around the home. They should be careful  and if they do not know what they are doing, should really call an electrician in to make any changes or adjustments to wall switches, lights or electrical circuits. After all, making a mistake can be costly in terms of money as well as personal injury. At the same time calling an electrician to change a wall switch or to replace a ceiling fixture can also be very expensive. This is a pretty easy example of electrical work around the home. For them it is an easy job and takes 20 to 30 minutes to complete along with travel time. So it is profitable time spent for an electrician, and an expensive hour for the home owner.

Electrical Work Around the Home

There are basic rules to follow when doing any kind of electrical work around the home. We will cover these rules in our post, however please call an electrician to do some of this work if you do not know what you are doing or are nervous about working with electricity. If you do not know what you’re doing, then hire an electrician.

Turn the Power Off

This is the most basic of rules and applies in every situation that you as a home owner will every be involved in. Always turn the power off your self and test the circuit to make sure it is not live before doing any work. In my younger days, an older person was emphatic that he had turned the power off. Fortunately I had been trained to always test that the circuit is not live before doing any work, so I touch the bare wire against the back of a stove first and saw the sparks fly!

Always do it your self! Pull the fuse, turn the circuit breaker off and make sure that there is no power on. I always turn on a light or some device on the circuit I am going to work on and them pull the fuse. When the light goes out, I know I have the right circuit and there is no power going to that switch or light that I am going to work on. Pretty simple, but it works and I avoid lots of other problems when I am doing electrical work around the home.

Match the Colors

Another tip if you are planning to do the work yourself is to always match up the colors. This means connect the white wire of the lamp with the white wire of the feed circuit. The black with the black. Always attach the ground wire which is usually green to the metal box that you are attaching the lamp or the light switch to. If you match the colors you usually cannot go wrong, especially for the simple jobs.

Ground the Circuit Properly

The circuit should always be grounded properly. If you do not know how to do it, then hire an electrician. Follow the rule above and connect the green wire to the metal housing of the box. When your home is wired by the builder, all electrical outlets are grounded. All Switches and lights and plugs have a ground wire. Which should be connected to this metal box to ensure that the lamp etc is also grounded.

Test your Connections

Once you have connected the wires either with a Mar connector or by attaching them using a metal screw to a connection post, give the wire a good tug to make sure that it is secure. If it is loose redo the connection to make sure that it is solid. Once all of the connections are made, turn the power on and make sure that it works as planned. If it does not operate properly, turn the power off. Re-check the connections including the light bulb if you are connecting a lamp of some sort.

Avoid touching Bare Wires

Even if you are confident that the power is turned off. It is always a good idea to get into the habit of not touching the bare wires. Secondly if you have to touch a bare wire, never touch both bare wires at the same time. Do not ground yourself in some manner. With the power turned off, you should not have to worry. But some day you might just make a mistake and leave the power on. Following this rule will give you another level of protection!

If in Doubt Call an Electrician

After all of this, if you feel uncomfortable, spend the money and hire a certified electrician to have the job done right. Your house will be safe, you will be safe and there will be no doubt about any accidents or accidental fires from bad connections.

Electricians may cost as much as $100 an hour, but when you consider the alternative, the money is nothing compared to a burn or electrocution.

We invite comments from readers and suggestions on our blog. Feel free to make comments, however spam comments will be deleted. Also negative comments or obnoxious comments will also be deleted.

Enjoy our blog and look for more to be added every few weeks.

Save


  • Copyright © 1996-2010 Managing Home Maintenance Costs. All rights reserved.
    iDream theme by Templates Next | Powered by WordPress