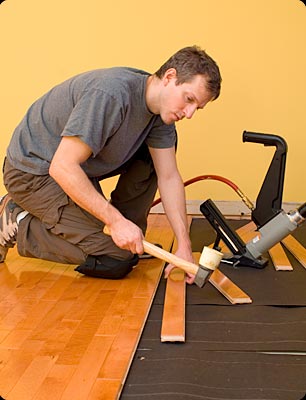
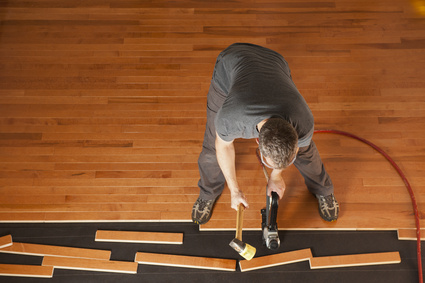
 We just had hardwood flooring installed. So we thought we would write a post about the best ways to look after your hardwood floor. Keep it looking pristine for many years.
Now how do you take care of it and keep it that way without having to do a lot of work. You have invested a lot of money in your new floor. It will also cause your home to increase in value as well a great deal. If you maintain the floor, it will only continue to enhance your home’s value especially when it comes time to sell it.
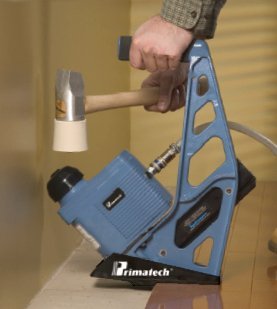
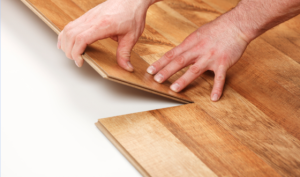
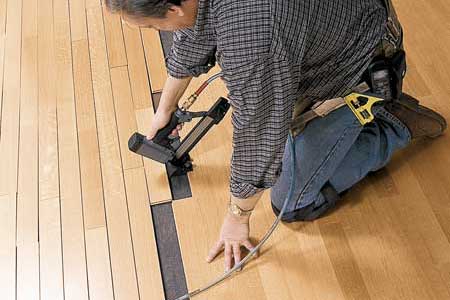
Hardwood Flooring Installed
Protect your hardwood floors by taking care of your hardwood floors and also following a few simple rules which we’ve listed below:
Do not wear shoes inside your home, They track in dirt and grit which can scratch your floors and overtime leave a dull finish. This is probably one of the most important tips to remember.
Vacuum often to remove dust and also grit that makes it onto your floors from your clothes, from shoes, dust that is blown in from outside and even dust blowing in through the windows. Keeping your floors very clean will enhance the floors and keep them looking great for years.
Wipe up spills immediately before the liquid can ruin the finish on your floor and also fall between the cracks causing the wood to swell.
Place coasters under furniture feet to avoid pressure points from the feet of the furniture that leave indentations in your floor that cannot be easily removed.
Close blinds to decrease bleaching by the sun. It is truly amazing just how much the sun can bleach the floor leaving a two tone floor, one area where the furniture was and the other area where the furniture was not sitting.
Do not drag furniture across floors to avoid scratching the floor and leaving marks. Lift the furniture and carry it across the floor.
Wash the floors with a damp mop to remove in dirt and grit that may have stuck to the floor. Never allow any liquid to stay on the floor especially when you are mopping the floor with a mop. It should be only damp and not wet. Never use any abrasive material or any soap that could damage the finish on the floor.
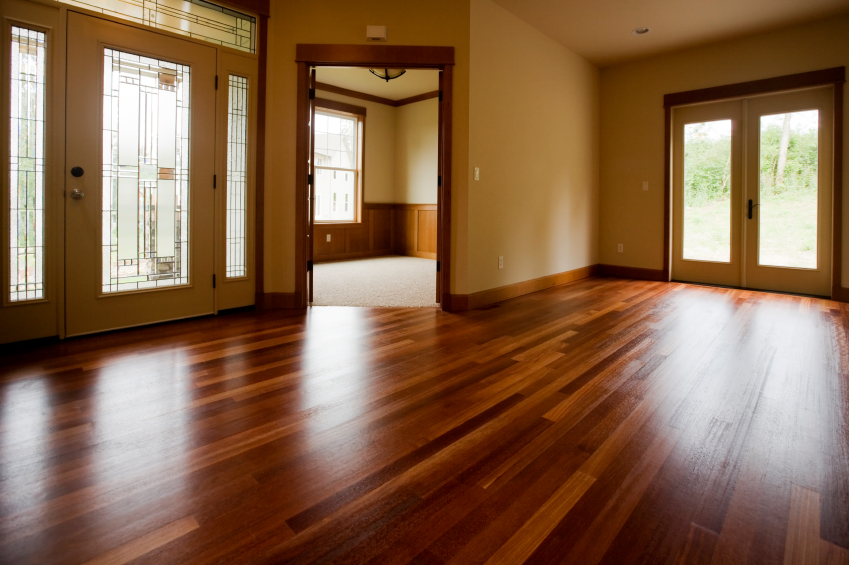
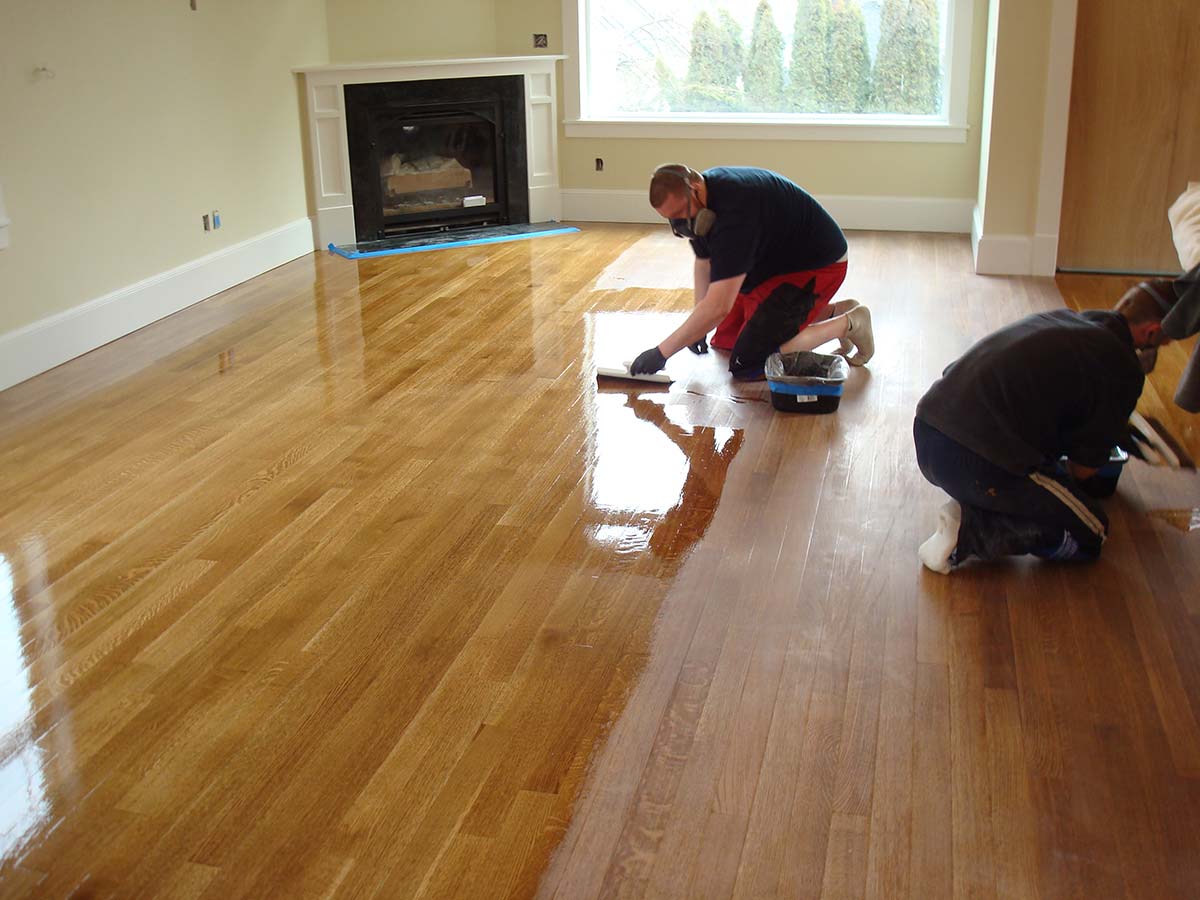
Improve & Maintain Your Homes Value
Hardwood floors will last a lot longer if you take some simple precautions. They do not take a great deal of work. Your home will also be worth much more when it comes time to sell it. The hardwood floors should be in good to great condition. Prospective buyers are interested in gleaming and shiny floors that they do not have to have refinished. They want to avoid the work, the expense and the challenge of having floors refinished while trying to move in to their new homes.