 Installing hardwood floor is a great way to improve the look of any room. Installing hardwood floors will also increase the value of your home. When it comes to selling your home many buyers are looking for hardwood these days instead of carpet. The natural look of hardwood is a beautiful addition to any home that can be enjoyed and cherished for many years, but installation of new flooring requires some work.
With organization and planning along with some carpentry skill, you can succeed in installing hardwood floor and begin to enjoy everything hardwood flooring has to offer. If you are not skilled in this area, it is often best to hire a professional, take a course or get a friend who knows what they are doing to help you. Better to get help than make a mess of your new floor. You can save a great deal of money by doing it yourself, all we are recommending is that you invest in the proper training and purchase the right tools before you begin your work. This will pay off big time with a perfectly installed floor that you and your family can be proud of, will add a great deal of enjoyment and will increase the value of your home as well.
Installing Hardwood Floors – Preparation
Before you begin to lay down the new floor boards it is important to store them indoors for a few days. Allow them to expand or contract and adjust to the new environment.
Ensure that you have all the necessary tools for installing hardwood floor. This list should include a floor-nailer along with miter and jamb saws. Remove the old flooring. Clean any loose material from the floor. Make sure there are no nails sticking up and that the floor is flat. You may even want to put a sub floor down and / or nail down the existing sub floor to avoid any squeaks etc on your new floor. Many installers will use screw nails instead of nails to nail down the sub floor. They feel there is less chance for the floor to move.
Make Your Measurements
Begin the project by covering the clean, level sub-floor with a layer of asphalt felt and overlap the edges by a few inches. Fix the felt down with a staple gun, keeping the surface as smooth as you can.
Then make measurements at various points in the room to draw a chalk center line parallel to the starting wall. It is also helpful to mark the position of floor joists on the felt as well. Another line should be marked out about ½ inch from the starting wall to set the edge of the first row of flooring.
Installing the Hardwood Floor
Actually installing hardwood floor now begins at the starting wall with the widest planks or longest boards. Drill pilot holes for 1 ½ inch finishing nails where the nail-heads will be covered. Face-nail the first row into the floor joists and recess the nails with a nail set.
For the next 3 rows drill pilot holes at 45 degree angles in the tongues at 10 inch intervals. Do this at the joists and ends. Again fasten with finishing nails and set them with the nail set after ensuring the board is tight against the previous row.
For the remaining rows you can use the floor nailer while being careful not to damage the floor. The final row should be wedged tightly into place while drilling pilot holes. Place them at the edge where the nails will be covered and set the nails below the surface. Installing hardwood floor in your new and improved room is now complete.
Add the Finishing Touches
The last step is to install the corner round around the edges of the room. This adds decor to the room, but also hides the gap you left at the edges for expansion. Apply some paint to the corner round and you are finished with your rooms new floor.
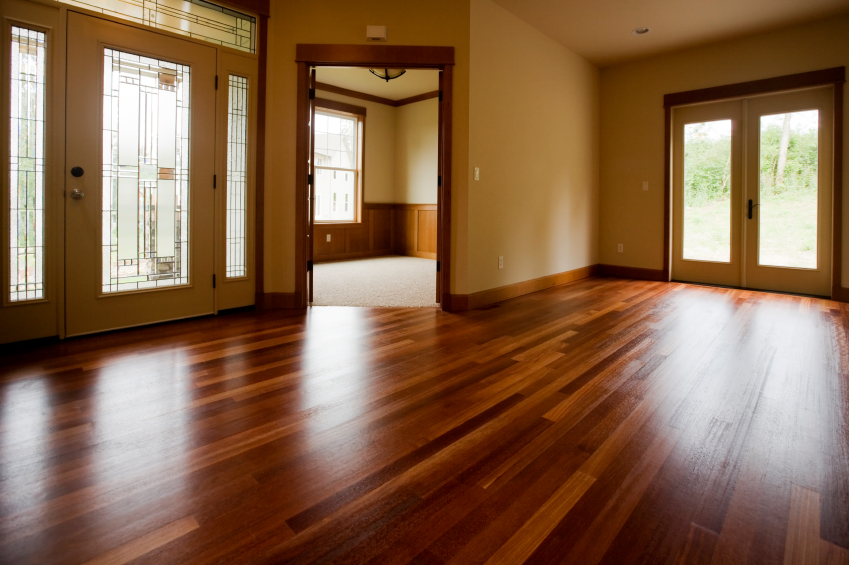
You can now enjoy all the natural beauty and durability of hardwood.
December 12th, 2019 on 12:17 am
Hi there very nice blog!! Man .. Excellent .. Superb ..
I will bookmark your site and take the feeds also?
I’m happy to find numerous useful info right here
in the publish, we need work out extra techniques on this
regard, thanks for sharing. . . . . .
October 17th, 2012 on 2:25 pm
this is a big help re installing hardwood floors. Now I am going to home depot to sign up for a course on how to install a hardwood floor so I can do it right and save some money